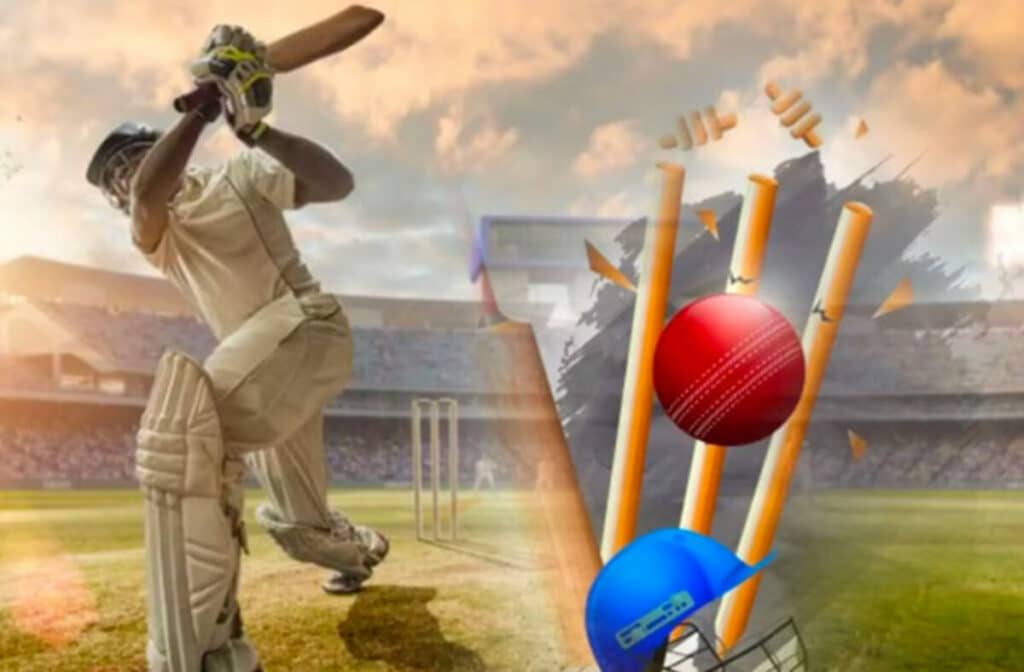

The International Premier League, the Champions Trophy, the Twenty20 World Cup, and more are all covered by Cricket Exchange, a free piece of software. It provides a rich, real-time data interface for making choices. Users with Android devices can access the app and website in their native APK format. An OTP, complete name, email address, and phone number are all needed to register. You can wager on who will be named the match’s MVP, how many runs will be scored, how many sixes will be hit, and who will take the most wickets.
Since Cricket Exchange caters to a certain audience, you won’t find a wide variety of casino games or sports to wager on here. There are a few games missing, a lot of ads, and not too many total games. In addition to the standard card and dice games like Teen Patti as well as Poker, the new options provide gamblers the chance to wager on everything from table tennis and soccer to horses and car racing. Cricket Exchange is not the greatest pick if you’re searching for an all-encompassing solution. You should check out other sites that offer more betting options and a higher quality overall betting experience.
Without solid support, no online platform can provide a problem-free gaming session. However, other platforms, including Cricket Exchange, struggle to deliver exceptional customer care, leaving consumers feeling abandoned or frustrated in their attempts to resolve concerns. Clients may get dissatisfied and stop using the service if they don’t feel heard and understood by the customer service team. When gamers run into problems, they can turn to any number of available support channels, each tailored to their own platform.
When looking for an online sportsbook, cricket are fairly comparable. Read on if you’re interested in finding out more.
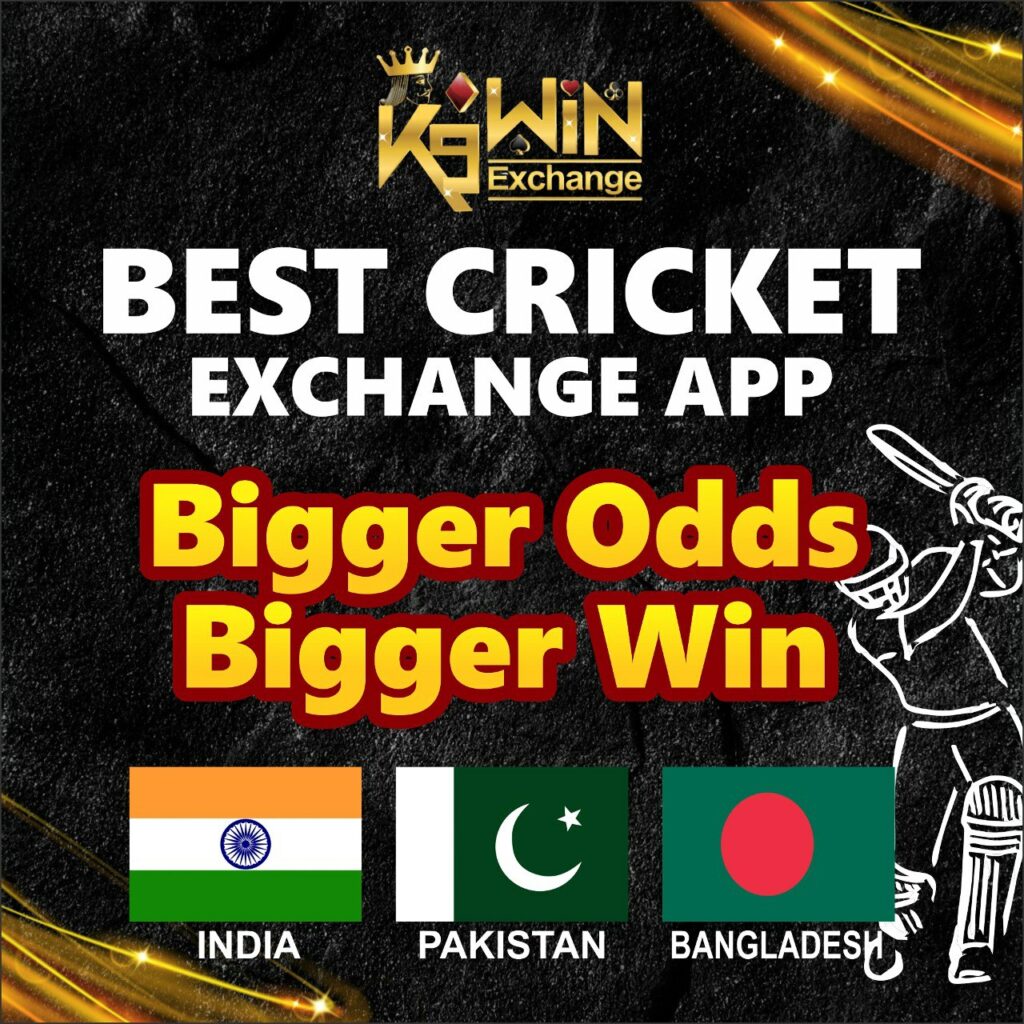
Gamblers from Bangladesh who frequent K9WIN Exchange and other casinos and live casinos online prioritize convenience when it comes to making deposits and withdrawals. The sites listed here all accept BDT and include a large library of games. Any reputable Bangladeshi online casino worth its salt should accept bKash, UPay, and Nagar. Deposit and withdrawal limits, as well as fee-free payment options, are crucial for online gambling. Sometimes, online casinos may offer a bonus on your third deposit as well. BettingSitesBangladesh.net is an index of online casinos that accept players from Bangladesh but don’t charge any kind of fee to do business with them.